
Yes, it is very unnatural to see users waiting for any blog, or websites to load or to downloading any file at the cost of wasting their valuable time. As you all know that Internet Services are of two categories: Dial-up internet access and Broadband internet access. Dial-up internet service was used earlier at the advent of Web services, but Broadband service has replaced it in the past few decades. The reason is quite simple, the BETTER SERVICE & INTERNET SPEED. This article will talk about the key factor that affect internet speed – Broadband. In other word, to boost up internet speed on your computer, you must do some settings for Broadband.
Learn More about Broadband
Broadband internet access is actually 10 times faster having 512kb/s speed than the dial-up internet access. Thus most of the users, rather to say the entire system have been shifted from the previous low speed dial-up configuration to the latest broadband technology.
Now in order to boost up your internet speed, you first need to know the exact speed of your internet at the current moment, or else it would be difficult to decide how far you should get to resolve your issue. For such tasks, various online services are available on the internet, for instance websites like speedtest.net.
NOTE: The resource or the platforms used for testing the internet speed may show different results on different platforms, for every resource use different servers, and every server is connected to different number of users. The variation in the traffic level determines the internet speed execution in the resource you have chosen.
Methods to Boost-Up Internet Speed on Windows 10/8/7
In the following article various methods have been elaborately explained to give you the ease of using high speed internet.
Method 1: Reserved Bandwidth Removal for system
Even if you have got a wonderful internet service as per the definition of your promising service you receive, you still are not getting the speed that you were promised. The reason is quite simple, bandwidth retention. By default your computer reserves 20 percent of the bandwidth to handle QoS (Quality of Service) Packet Scheduler, video conferencing or for the automatic Windows updates, etc.
Due to this reserved bandwidth, what you get for your own use gets minimized to such a level that you find it difficult to download your data. Follow the steps given below to remove that reservation to clear your path. You can also follow this guide to open Local Group Policy Editor in Windows 10.
Step 1.Press “Windows+R” and hit “Enter”.
Step 2.The “Run” dialog box would appear with a search panel.
Step 3.In the search panel type “gpedit.msc” and press “Enter”to open your local policy group editor window.
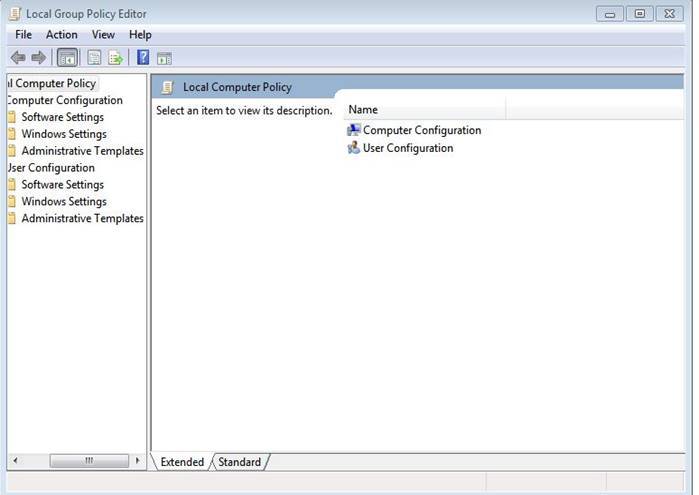
Step 4.Once the window of local group policy editor opens up, go to the “Administrative Templates” section and double click.
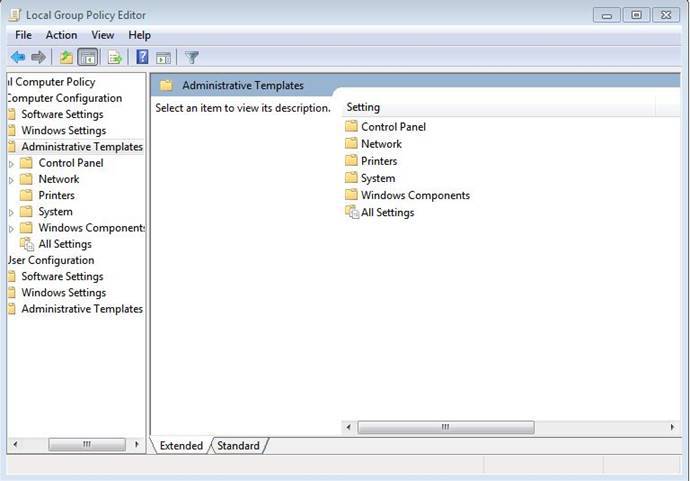
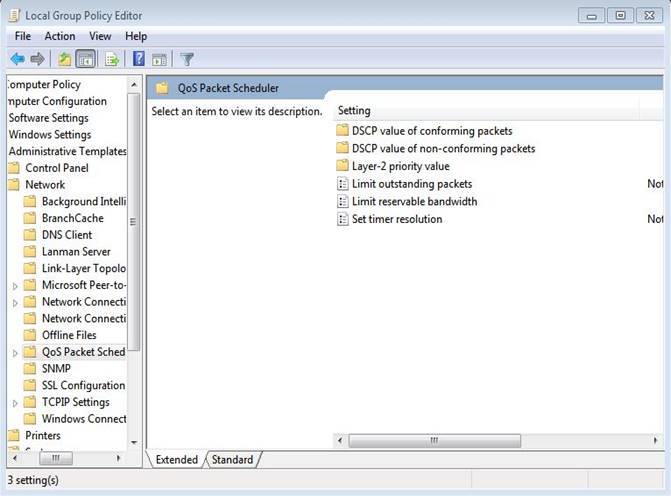
Step 5.On the right side of the window column double click on “Network” and then double click again on “QoS Packet Scheduler” and then “Limit reservable bandwidth”.
Step 6.In the following operating Window, first select “Enable” and then reduce the bandwidth limit percentage to zero (0) and press “Ok”.
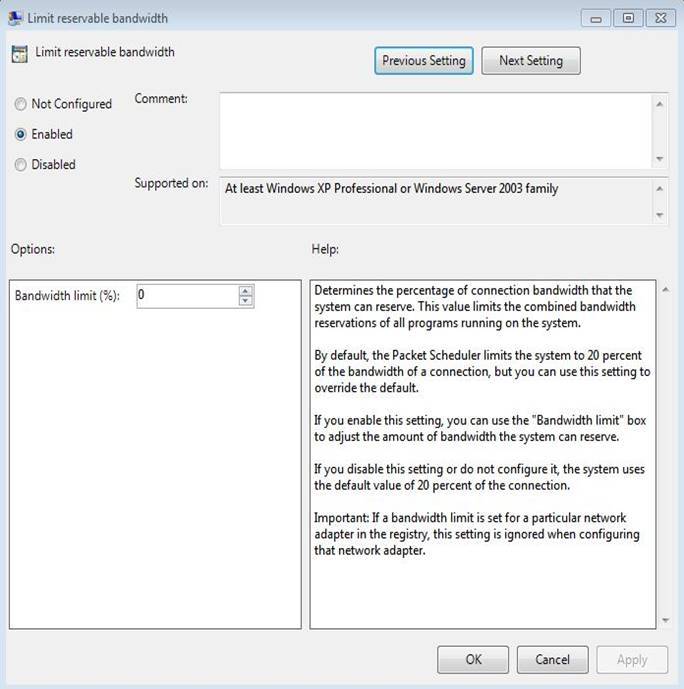
If you have done it all right, your speed would automatically be increased within a minute.
Read:
2. How can I Crack/Hack My Windows 10/8,8.1/7 Password without Changing It
Method 2: Clear Browsing Data
To boost up internet speed on your Windows 7/8/10, you must clear some unused or useless browsing data. Whether you know it or not, but when you access any particular websites, a load of data in the form of browsing data, such as saved passwords, cache, plug-in data, history, cookies, saved Auto-fill form data, data from hosted apps are stored in your web browser, and a major portion of your internet bandwidth is wasted on maintaining all such browsing data.
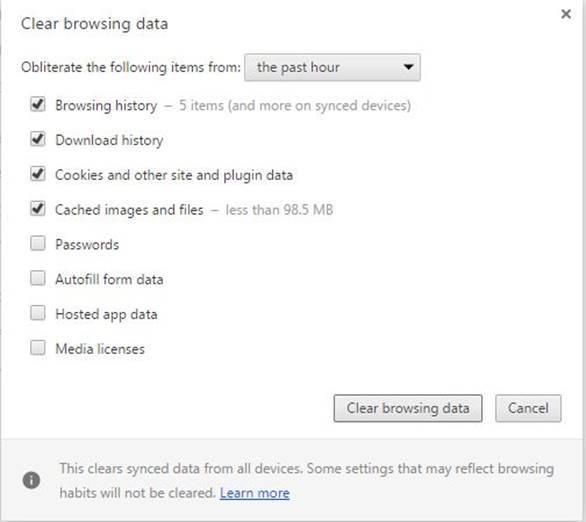
Thus deletion of those unnecessary data would clear the pathway for smooth bandwidth utilization.
Step 1.First open up the web browser that you frequently use for Internet.
Step 2.Once the browser window appears press together “Ctrl+Shift+Delete” and the Browsing data window will pop up.
Step 3.Choose exactly the data you want to delete then press “Clear browsing data”.
Once the browsing data is cleared of your system, the speed would automatically take its leap in an instant giving way to refreshed usage.
Method 3: Turn off Automatic Updates on Your Windows
This method is quite simple to apply yet is very important over all other methods if you want to boost up internet speed on Windows. Even after you have closed your web browser, many applications are running in the background for latest updates.
Close all those updates even for the automatic updates of your Window for a portion of the bandwidth is utilized in those tasks. Once you have closed all such portals of leakage of bandwidth, the internet speed would swiftly be boosted for your convenient use.
Conclusion:
The bandwidth allocation is what the internet speed is all about. If you know how to allocate the bandwidth you receive for certain tasks you want to achieve and the ones you want to remove, the internet speed would automatically fall into its right course. But mostly users are not aware of such methods, thus the article has shown the ways simpler terminologies that even a novice can understand it easily.
If you have found the article reliable, please share it on the social media and visit our website for more information.
Related Articles:


