You have a certain folder in your computer and now when you wish to remove it hard disk, it does not seem to budge at your command. No matter how hard you try, it does not seem to be removed completely. After every deletion attempt, it comes back again without a reason. These kinds of issues are quite common when your system is heavily attacked by malwares and viruses. The files are corrupted by the viruses and every time you try to delete it, it creates a duplicate copy of itself to remain within the system. At times it might not appear to a serious issue, but with time you will realize that one single folder that you are unable to delete is creating a lot internal issue without even your knowing.
Thus it is of paramount importance to delete forcefully for the sake of your computer’s safety if need be. Here in this article some essential trickeries are described which can actually help you delete the stubborn folders forcefully.
It is only a matter of changing security permissions or sometimes renaming the long character file names to allow the deletion process.
But you need to be an adept with the computer’s technical intricacies to handle the methods mentioned below.
#1. Force to Remove Folders with Command Prompt
Deleting the files and folders using cmd is sometimes more efficient than usual deletion process. Command prompt being the command line interpreter of your Windows OS can pull off many tasks just at the stroke of few commands, and this is what we are going to use cmd here for. Carry on with your reading to know its working in deletion procedure:
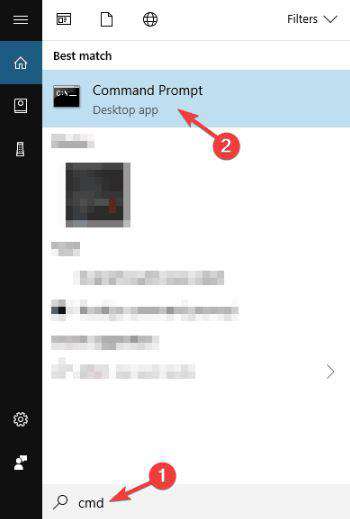
Step 1. First go to Cortana and type “Cmd”. Click “Command prompt” from the list of options shown to open a black box which is the cmd dialogue box.
Step 2. Now in the command prompt firstly type Del and then the exact location of your file or folder, for instance: del c:usersJohnDoeDesktoptext.txt
Step 3. Now go check for the folder in your computer and you will find no trace of it anymore indicating that it has been removed from your system directory permanently.
But if you wish to try out something else, then you can check out the next methods mentioned ahead.
#2. Force to Delete Files or Folders by Changing Ownership of file/folder
Sometimes you are unable to remove or delete a file because you don’t have the ownership to do so. No why you don’t have the permission or ownership is a matter of detailed study. Cutting it shorter and easier terms, the only explanation is that your files or folders might have been created in the past when you had a different operating system. Thus the files are compatible with that previous version of OS but not with the current one. So you have to first earn the ownership with the currently running OS and only then can you be able to delete the peculiar files. The steps to change the ownership is detailed below, continue your reading:
Step 1. Choose the file or folder that you wish to delete and right click on it.
Step 2. Select “Properties” from the context menu and the property window will turn up immediately.
Step 3. Go to the “Security” tab and click the “Advanced” button.

Step 4. When the Advanced Security Window turns up, you will detect the owner of the file.
Step 5. In some cases, the system name is listed as the owner name or sometimes as “TrustedInstaller”. Simply click on “Change” button adjacent to the owner’s name.

NOTE: TrustedInstaller is an in-built Windows account which is responsible for removal and modification of updates and other various essential components. So if you find the owner name of the file to TrustedInstaller, you better not change it or delete it, because that turns your file system unstable even more. So change the name from TrustedInstaller to something else if you perfectly know what you are exactly doing.
Step 6. Enter a new username and press “check names” to verify if it okay. Finally click “OK” to save the change.
Step 7. Get back to the Advanced Security Settings and you will notice a checkbox named “Replace owner on subcontainers and objects”. Simply check that checkbox and click “Apply”.
Step 8. Now exit the windows security properties and restart your computer.
Step 9. Now open the properties again by right click on that specifi c file and then go to “Advanced” option.
Step 10. Next under the “Permission” tab, check the checkbox named “Replace all child object permission entries with inheritable permission entries from this object”.
Step 11. After this, click on “Edit” button beneath, and in “Permission Entry” window check the “Full control” option and click “Ok”.
Now try to delete the file or folder again and this time it would definitely be eradicated without any doubt.
Conclusions:
Since the issue arises mostly due to the interruption of viruses besides ownership problems, thus installing an anti-virus in juxtaposition with your operating system can help you scan the viruses and delete them. After which you can supposedly delete your files and folders without any difficulty. But if you are not sure or confident enough to deal with Ownership changes explained a short while ago, better not head on with such methodology without any proper expertise or guidance.


