If your company need to frequently share PDF documents containing sensitive contents with individuals both inside and outside the organization, then it’s necessary for you to watermark these PDF files to prevent your important PDF files from potential unauthorized use and publicize your brand! So, MarkPDF has emerged. It helps you remove watermark from PDF files and let you customize your watermark with regards to font color, size, position of watermark etc. With MarkPDF, Digital watermarking of pdf files has never been this easy? Let's see how use MarkPDF to add or remove watermark on PDF files.
Part 1: Remove Watermark from PDF File
1 Download, Install the Mark on Computer (Windows and Mac)
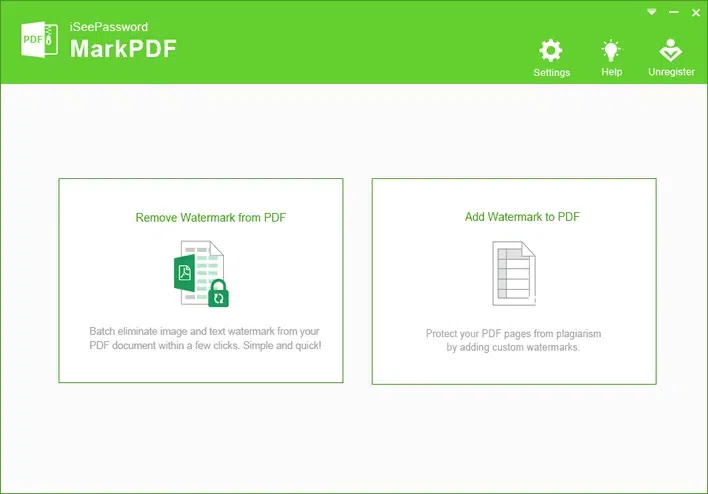
Firstly, you should download and install the trail version on a computer (windows or Mac). Then launch it. In the main Window, you will see two features in it. To remove watermark from PDF files, we need to select the first option in the left.
2Add the PDF Files
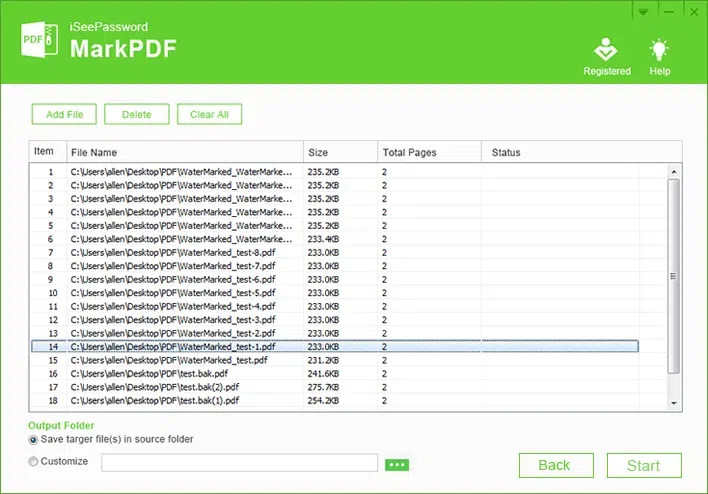
Click the Add File button to import your PDF files that you want to remove watermark. You can batch add hundreds of PDF files once. If the PDF is password protected, then it will be marked a locker icon in it, just click it to enter your password and continue.
4Check the Watermark You Want to Remove
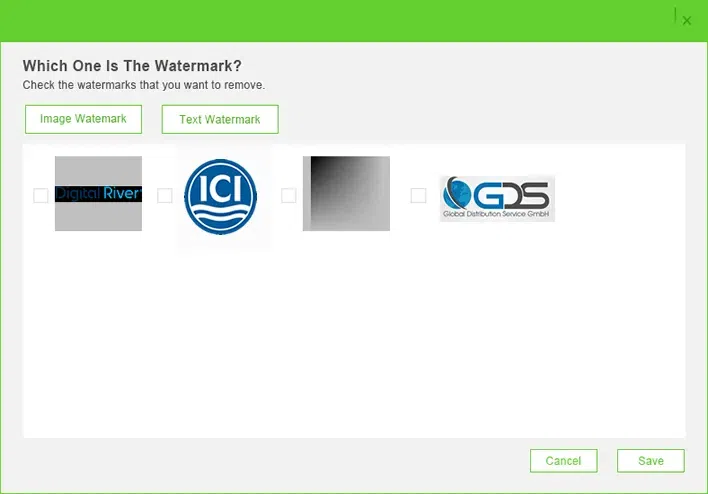
For Image Watermark:
Click the "Start" button and it will open a Watermark Setting Window, you can check the image watermark and text watermark in it. The program will automatically detect all the watermark image in your PDF files, just check the image you want to remove.
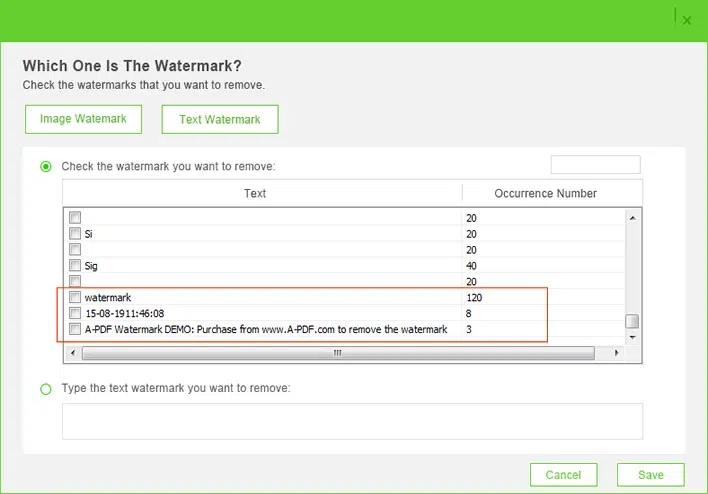
For Text Watermark:
Click the Text Watermark tab and there are two modes to show your text watermark:
Automatic display: It will show all your text watermark in the list, then just find the text and check it, or you can search it.
Manual Input: You can accurately type the text watermark you see in your PDF file, but note it is case sensitive.
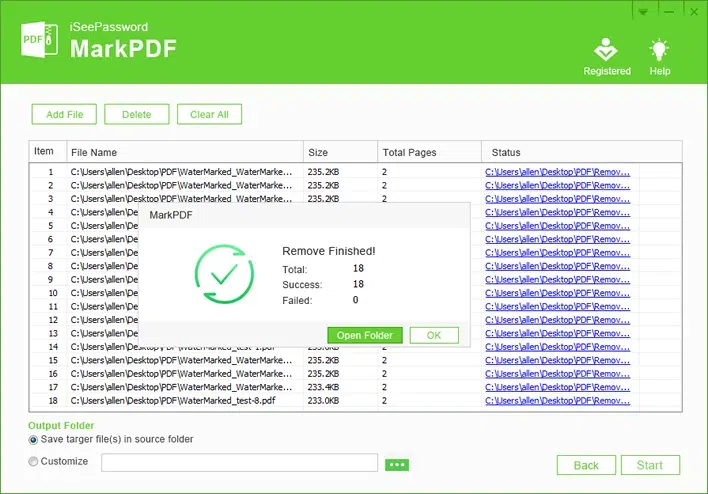
5Start to Remove Watermark from PDF
After you checking the watermark, then click the Save button, it will start to remove watermark from PDF automatically. And you can click Open folder to check the new PDF files.
Part 2: Add Watermark to PDF File
1Add PDF Files to MarkPDF
After you installed the MarkPDF program on your computer, run it and select "Add Watermark to PDF" option, then import your PDF files which you want to add watermark to.
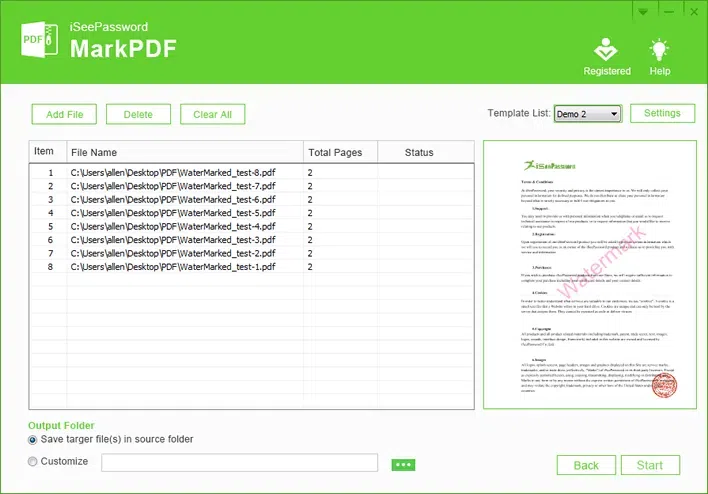
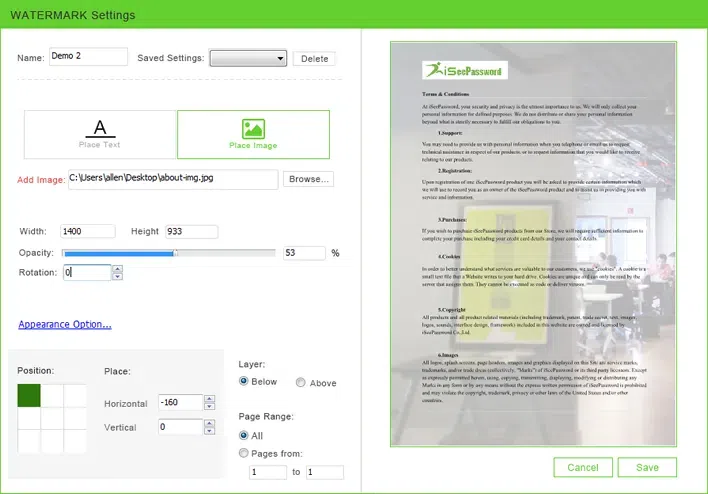
2Create Your Own Watermark Templates
There are two watermark templates embed in the MarkPDF program, but you can also create your own PDF watermark by clicking Settings button, then click the Name tab to enter your name.
For Text watermark:
You can adjust: Font style, size, color, opacity, rotation, tile style, position, layer and page range.

For Image watermark:
You can adjust: image width, height, opacity, rotation, tile style, position, layer and page range.
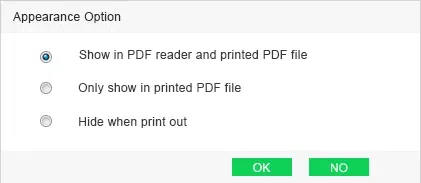
Make Your Watermark: Show or Hidden in the Printed PDF
In the settings, you can make your watermark show or hidden when others trying to print your PDF files. Click the Appearance Option, then are three options in the poping up Window.
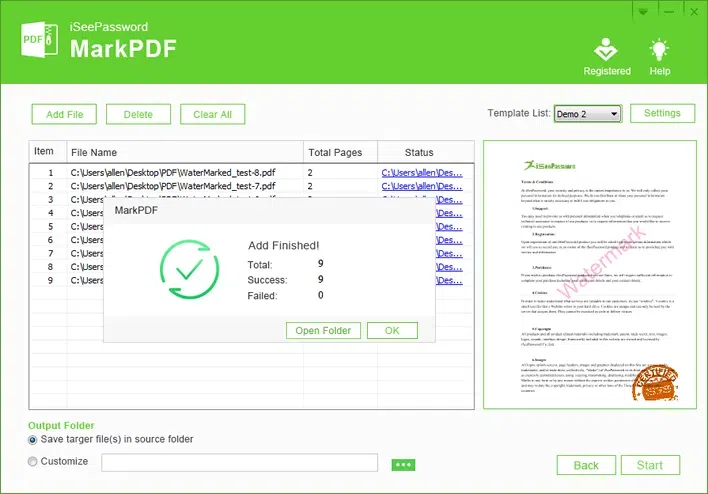
2Start to Add Watermark to Your PDF Files
After you completed the settings, then click Start button to start adding watermark to your PDF files. You can create more different watermark templates, then select targeted template from the list then apply to different PDF files. That’s very convenient!
Done! Digital watermarking of PDF files has never been this easy isnt it? Just download it and try to add a watermark to a PDF file you're editing.